Stainless Steel Tile Drain systems have become pretty common in bathrooms these days. You know the type — that long, narrow channel that sits flush with the floor so water runs off evenly instead of heading straight to one little round spot in the middle. When we make them here at the factory, we hear from customers all the time who want that clean, modern look without water sitting around in corners. It just makes the whole shower feel nicer to use. In this piece I'll walk you through the main things people ask about: how you actually put one in, what to think about before you buy, how to keep it clean over the years, why it fits into regular bathroom jobs, picking the right length, and where to place it so everything drains the way it should. Nothing fancy, just practical stuff based on what we've seen work (and sometimes not work) for real homes.
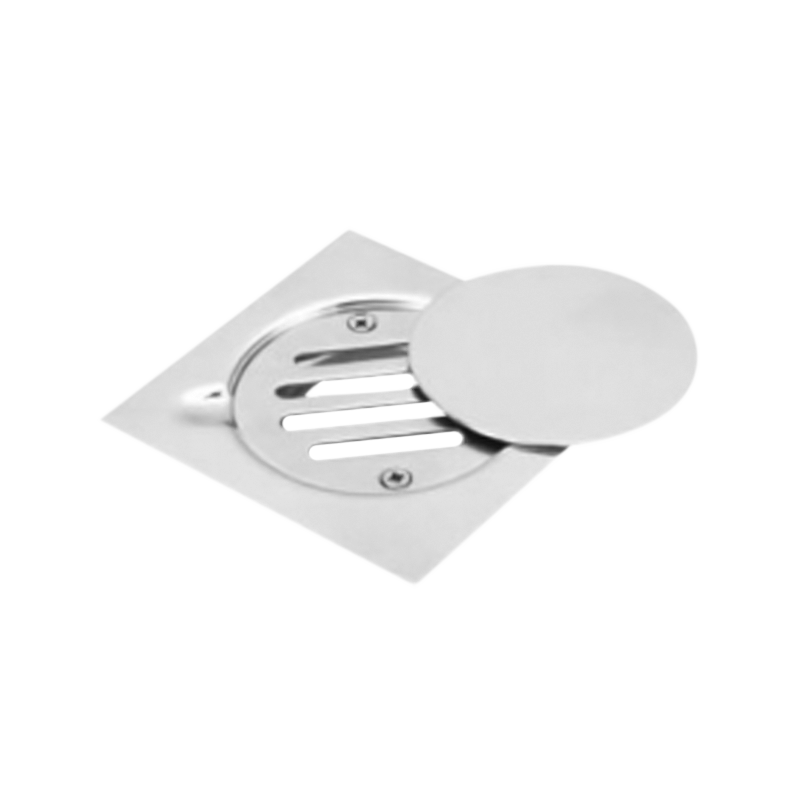
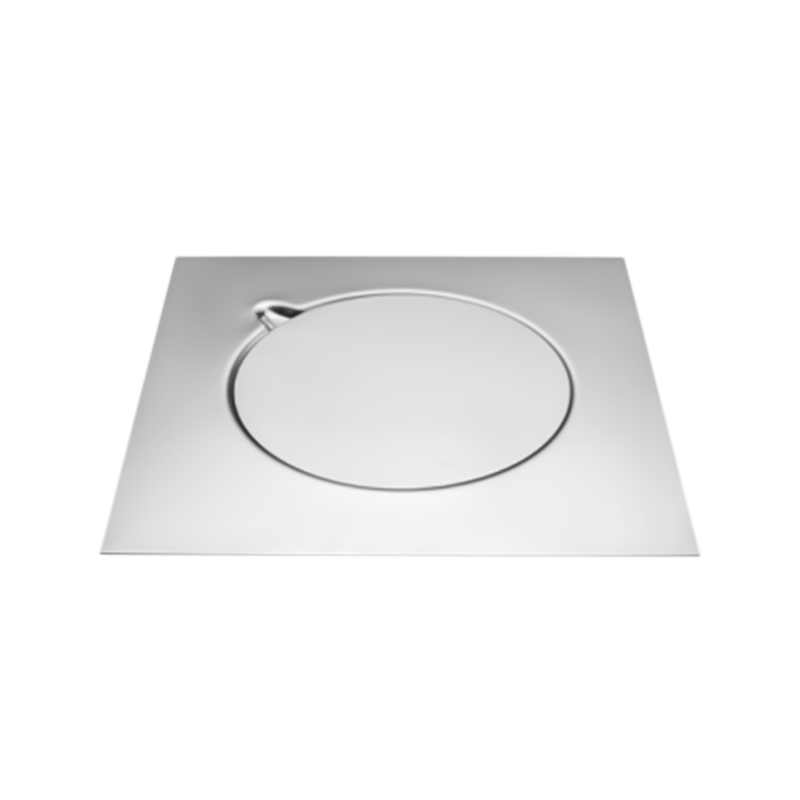
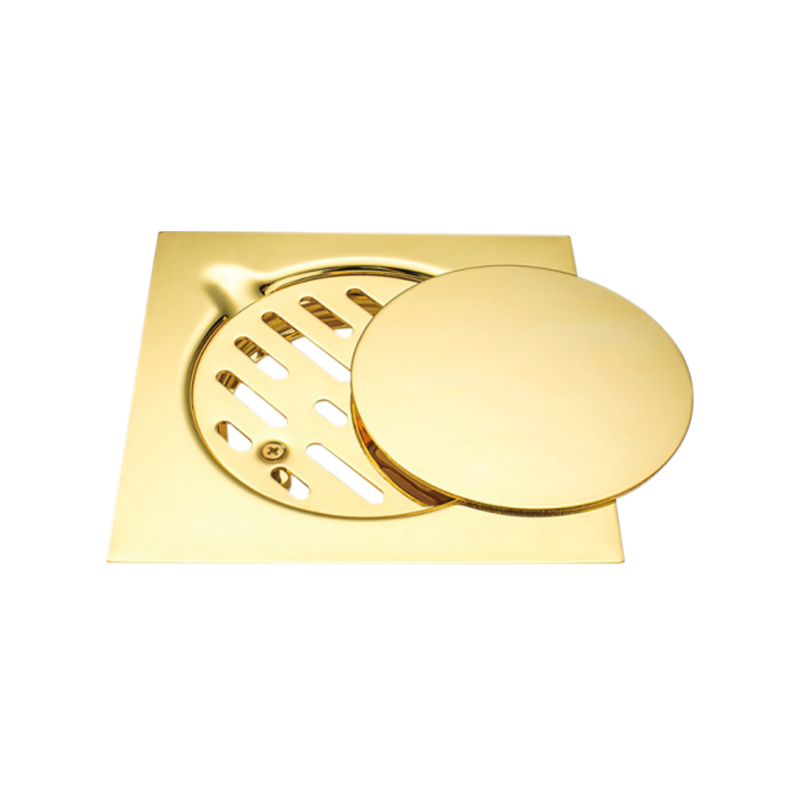
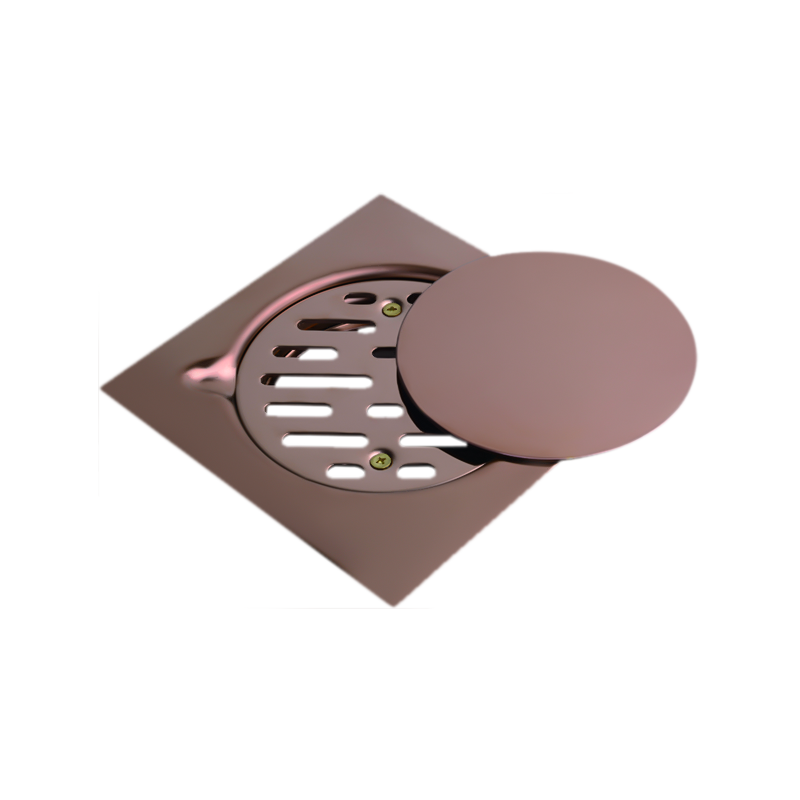
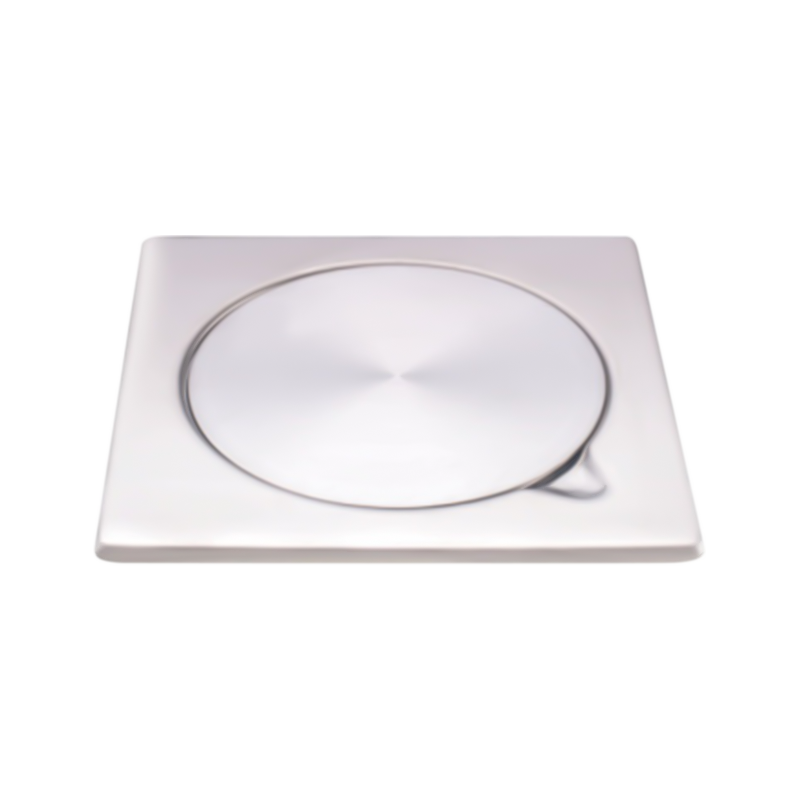
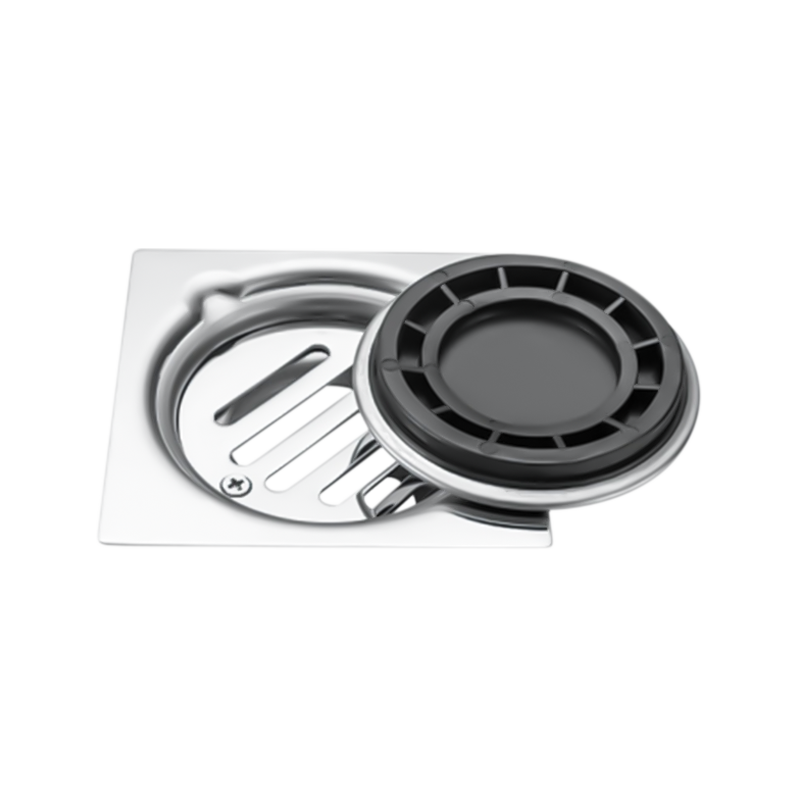
A Stainless Steel Tile Drain basically has a trough body and a cover that drops in on top. Water travels along the groove and drops into the pipe below. The material stands up to daily wet conditions and whatever soap or shampoo gets rinsed through it. We've shipped plenty of these to folks doing everything from small updates to full gut jobs, and the feedback is usually that once it's in right, you stop worrying about puddles.
One thing though — don't rush the prep work. The subfloor needs to be solid, the slope has to be there (even if it's just a gentle one), and the waterproofing has to be done carefully. Every bathroom is a little different, so if you're not sure about codes or your plumbing setup, grab a local pro to look things over. Saves headaches later, trust me.
Setting in a Stainless Steel Tile Drain isn't rocket science, but you do have to pay attention or you'll end up with slow draining or tiles that don't sit level.Clear out whatever's there now down to the subfloor. Sweep it clean, check for any soft spots or damage, and make sure everything feels solid. Then measure twice and mark where the channel is going so it lines up nicely with your floor pattern. I've heard from too many customers who had to redo parts because they eyeballed it and the tiles ended up looking off.
Hook the outlet up to your waste pipe with the right fittings and some good sealant. Get the trough sitting at the proper height — you want the finished floor to come out even. A lot of installs use a mortar bed or a pre-sloped base so water gently heads toward the channel. Nothing steep, just enough that you don't see standing water after a shower.
Once that's secure, roll out your waterproof membrane across the whole wet zone and up the walls a bit. Cut around the opening carefully and seal those edges really well. This part matters more than people think. A small gap here can go to moisture sneaking under the floor later on.
Now lay your flooring around it. Use spacers so the grout lines look consistent. After everything sets up, drop the cover in place so it sits nice and flush. Turn the water on and watch how it flows. If you see any pooling, tweak the slope a little before it all hardens. Tools you'll want handy: a solid level, tape measure, sharp knife, and a caulk gun. The whole job might take you half a day on a small shower or stretch into a couple days if you're waiting on mortar to cure.
People sometimes struggle with getting the slope just right or keeping the membrane from tearing around the edges. Take your time there. Once it's done and cured, test it a few times before you start using the shower every day.
Picking out a Stainless Steel Tile Drain comes down to a few real-world questions. Measure the length of your shower floor so the trough can catch water across much of the area instead of leaving dry zones at the ends. We've had folks call back because they went too short and water had to travel farther than it should.
Think about how it'll hold up with constant moisture and whatever cleaners you use. The corrosion-resistant ones do fine in bathrooms, but quality does vary between suppliers. Check if there's any testing info listed so you know it's meant for home use.
Make sure the outlet will connect to your existing pipe without too much hassle. That little detail can turn a smooth install into extra work if it doesn't match. Plan ahead and you avoid surprises.
Price-wise, they range depending on extras like adjustable feet or covers that lift out easily. Shop around a bit. You don't always need every bell and whistle — just what actually fits your project.
Looks count too. Some covers have simple slots, others have patterns that blend in with different flooring. Picture how it'll look once the tiles are down. A lot of customers send us photos after install and say they like when it disappears into the floor.
Also glance at the seller's return policy and what kind of help they offer afterward. Small adjustments sometimes come up during setup, and it's nice to know someone's there if you need a quick answer.
Keeping shower channel systems looking and working decent doesn't have to be a big chore if you stay on top of it. Many folks I talk to do a quick rinse every few days. Pop the cover off if it lifts out easy, rinse away hair and soap bits, and give the slots a once-over with a soft brush. Nothing aggressive that could scratch things.
For a better clean, warm water with a drop of mild soap usually does the trick. Scrub lightly, rinse everything out, and wipe it dry so you don't get those water spots building up. Skip the harsh scrubbies or strong chemicals — they can wear on the finish over months and years.
Every couple of months, take a closer look inside the trough for any buildup. If water starts moving slower, clear out whatever's caught there. In busy households it helps to check more often.
Don't forget the edges where the waterproof layer meets the flooring. If you notice any tiny gaps opening up, fresh sealant goes a long way toward keeping moisture where it belongs.
Hard water areas can leave a bit of residue. A little vinegar mixed with water sometimes loosens it up, but rinse well afterward. And keep your cleaning stuff stored away so nothing spills into the channel by accident.
One tip from experience: remind everyone in the house not to rinse big clumps of stuff down there. Small habits like that really add up for keeping things running smooth longer.
Shower channel systems just work nicely in a lot of bathroom remodels. Instead of water racing to one center point, it spreads along the length and drains off more evenly. That means fewer puddles hanging around edges or corners after someone showers. A bunch of our customers say it gives the floor that clean, continuous look they were after, especially in modern or open-style showers.
The build holds up under normal home use without needing constant attention. Tile guys like them because the flooring can run right up to the edges with hardly any break in the surface.
You can pair them with pretty much any common flooring material — porcelain, ceramic, stone, whatever you're using. It all sits together without much fuss.
During bigger jobs, they give you some wiggle room on layout. Run one along the back wall, near the entrance, or wherever the slope makes sense. It helps when the pipes are already set but you still want to change how the floor feels.
They're easy enough to find through different suppliers and don't usually need weird specialty tools. That keeps things simpler when you're juggling a whole remodel.
Figuring out the length is about measuring your wet area. You want the trough to cover enough of the floor so water doesn't have to travel too far before it drops in. Too short and you might notice slower spots at the far ends.
Width plays a part too. Narrower ones fit tight spaces fine, while a bit wider handles more water volume if you've got a larger setup or multiple heads. The outlet just needs to line up with what's already under the floor.
Think about your flooring layout while you're deciding. Sometimes running it along a grout line makes everything look neater. Other times centering it gives the room better balance.
Try a quick dry fit with a few sample tiles around a test piece. It shows you right away if you'll have awkward cuts or gaps. Saves buying the wrong size and having to send it back.
Where you put the channel makes a real difference in how well water clears out. In a regular rectangle shower, many people run it down the middle or toward the back so the floor can slope in from the sides. Nothing dramatic — just enough tilt that everything heads that way naturally.
Corner showers sometimes do better with it against one wall. That keeps the main stepping area drier when someone's inside.
Open showers without a curb might stretch it across the width near the doorway or along the far side. Depends on how you build the slope in the base.
Bigger wet rooms can use a couple shorter ones spaced out, each handling its own section of floor. The key is making sure every part slopes toward a channel.
Mark things out with chalk or tape while planning. Walk through it mentally — where does the water go? A tiler or plumber who's done a few of these can usually spot issues before you start cutting.
A couple extra things I've picked up from customer calls and install stories. Get the floor slope right from the start. Too flat and you'll fight pooling forever. Measure it carefully and check with a level as you go.
Tile thickness can throw the height off a little, so the cover might need a small tweak to sit even. Talk to your supplier early about what you're using.
Good ventilation in the bathroom helps everything dry out faster, which is nice no matter what system you have.
If kids or older folks use the shower, a flat cover feels steadier underfoot. Smaller openings also cut down on little things falling through.
After it's all in, if drainage slows, start simple — clear the visible stuff from the trough and cover. Stubborn problems might mean calling a plumber to check the lines below.
Down the road, a lot of these systems let you swap just the cover if you want a different look without tearing up the whole floor. Handy for future updates.
Shower channel systems like the Stainless Steel Tile Drain give you a solid way to handle water in the bathroom without making the floor look busy. Going over the install steps, buying points, cleaning habits, how they fit remodels, length choices, and placement ideas should give you a clearer picture of what to expect. We've seen them turn out great when folks take it step by step.
Don't rush decisions. Talk to local pros, get a couple quotes, and check the details for your exact space. A little planning upfront usually means you end up with something that works quietly in the background for years.
Hope this helps you sort through your project. If something still feels unclear, feel free to reach out to contractors or suppliers who know these systems well. They've probably seen your exact situation before.


 Add: No 3 District Xiaowufen Industrial Zone, Pengjie Town, Luqiao District, Taizhou City, Zhejiang Province, China.
 Tel: +86-576-89203599
 Fax: +86-576-89203598
 Email: [email protected],[email protected],[email protected]
Copyright © Taizhou Shenzhou Sanitary Ware Co., Ltd. All Rights Reserved.

 عربى
عربى