When planning a new bathroom, kitchen, balcony, or outdoor space, drainage is an important part of the design. A Stainless Steel Tile Drain offers a practical and stylish solution for managing water flow while blending smoothly with tiled surfaces. Known for its durability and clean appearance, a Tile Drain helps prevent standing water and supports the long-term condition of your floor. If you’re considering installing one yourself or supervising a project, this guide provides a clear step-by-step explanation to help you complete the task with confidence.
The step in installing a Stainless Steel Tile Drain is to carefully prepare the installation area. Choose a location where water naturally collects or where it can easily be directed. The area should be clean, dry, and free from dust or debris. Any leftover mortar or tile adhesive should be removed to create a smooth, level surface. This preparation ensures that the floor drain will sit properly and function as intended.
It’s also wise to confirm the size and placement of the drainage pipe to make sure it aligns with the chosen Stainless Steel Tile Drain. Adjustments at this stage will save time and effort later.
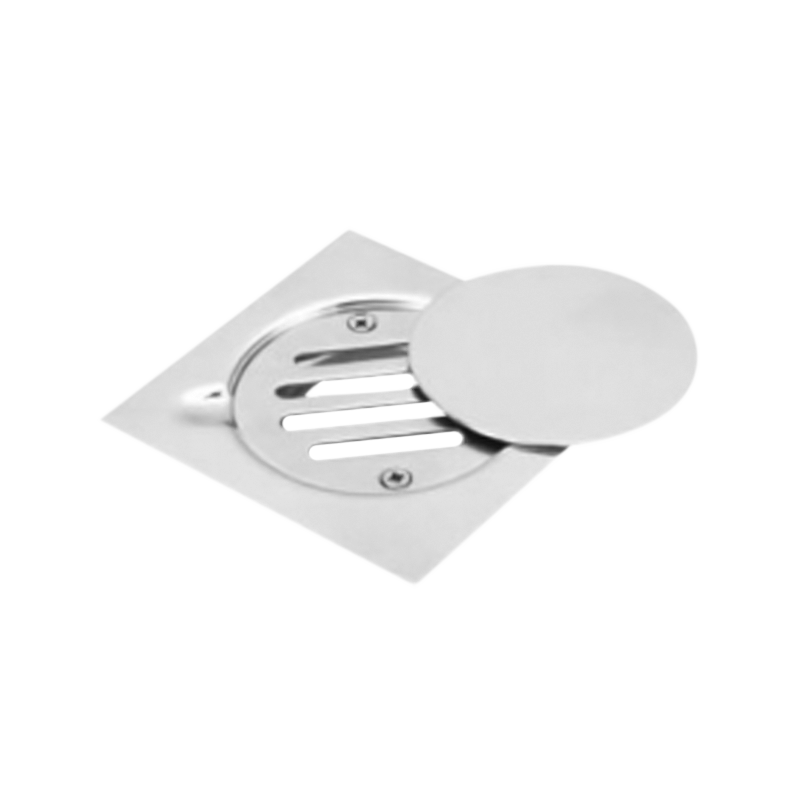
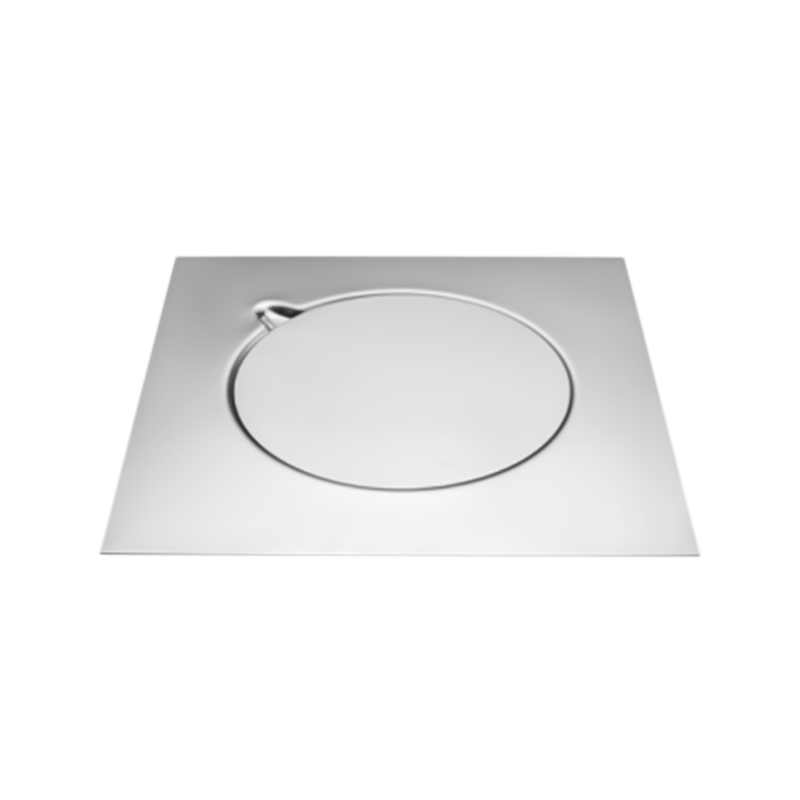
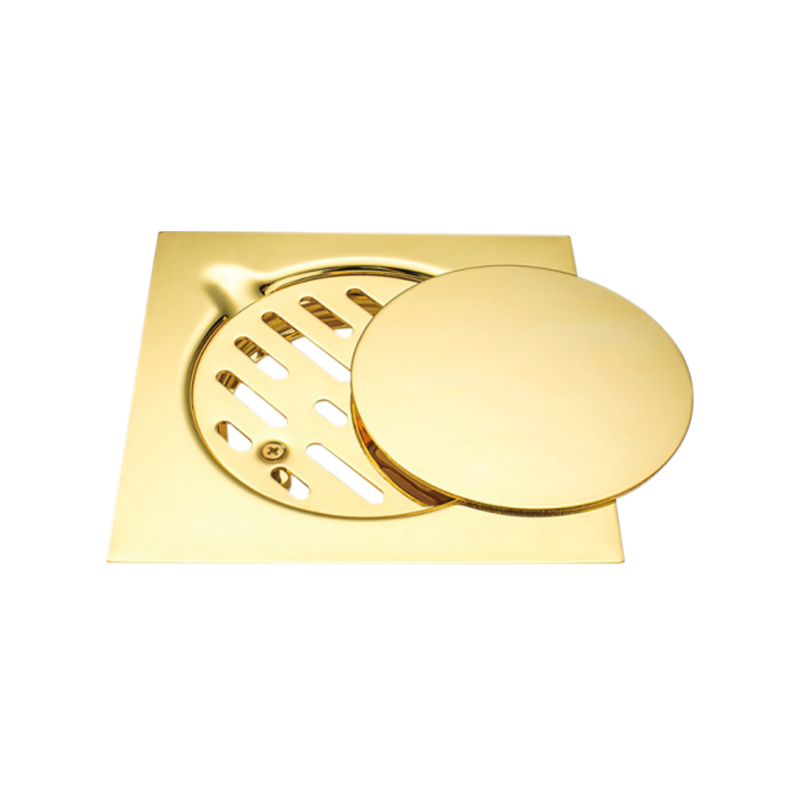
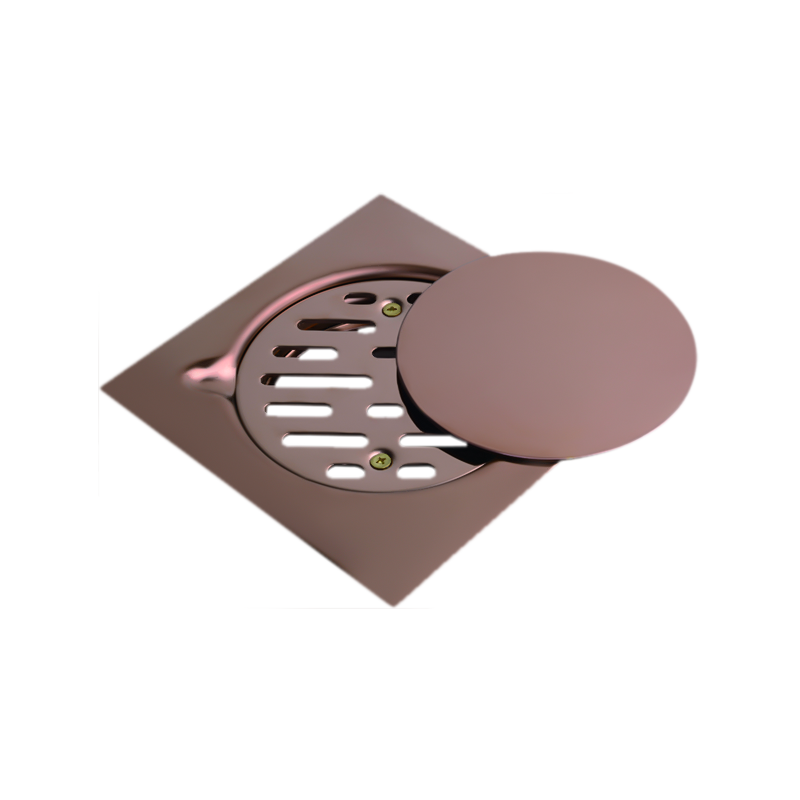
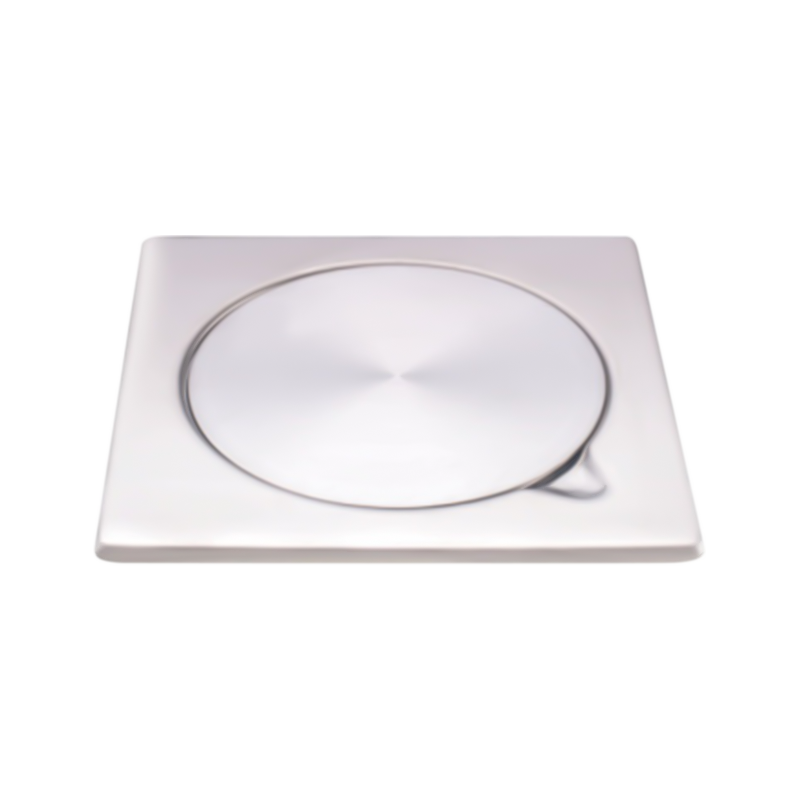
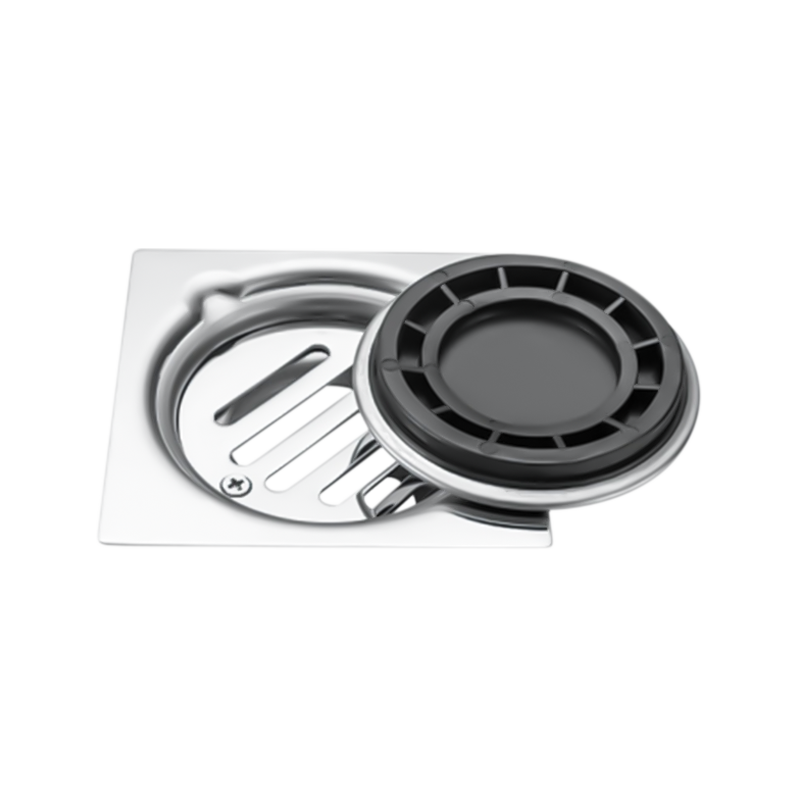
Before starting the installation, unpack the Stainless Steel Tile Drain and inspect all components. Drains include a body, a removable grate, and sometimes additional accessories like a trap or adapter ring. Confirm that all parts are present and undamaged. Matching the drain components to your tile thickness and pipe size is essential for a neat installation.
Make sure the drainage pipe is securely in place and ready to connect with the Stainless Steel Tile Drain. A proper fit is important for preventing leaks and ensuring smooth water flow.
Place the Stainless Steel Tile Drain body into the prepared location. Use a spirit level to check that it sits evenly with the surface and matches the slope of the surrounding area. Adjust the height so that the top edge of the floor drain will be flush with the final tile surface. This step helps achieve a clean, professional-looking result.
Connect the drain body to the drainage pipe. Apply a waterproof sealant around the connection point to prevent water from leaking between the pipe and the Stainless Steel Tile Drain. Allow the sealant to set before moving to the next stage.
One of the important parts of installing a floor drain is waterproofing. Apply a waterproof membrane or coating around the area where the drain will sit. Extend the membrane a short distance beyond the edges of the floor drain to create a continuous barrier against moisture.
This step protects the subfloor and ensures that any water escaping through the tile joints will be directed toward the Stainless Steel Tile Drain without causing damage underneath the tiles.
Once the waterproofing is fully dry, it’s time to lay the tiles. Measure and cut tiles to fit neatly around the floor drain. Leave a consistent gap between the drain and the surrounding tiles to allow for grouting.
Use a suitable tile adhesive and place the tiles carefully around the Stainless Steel Tile Drain, making sure they are level with the top edge of the drain. A smooth transition between the tiles and the drain surface is not only visually appealing but also helps direct water efficiently into the drain.
After the tiles are firmly in place and the adhesive has dried, apply grout to fill the spaces between the tiles. Pay special attention to the gaps around the floor drain. Use a rubber grout float to press the grout into the joints and remove any excess material.
Wipe the surface clean with a damp sponge before the grout hardens. Allow the grout to cure according to the manufacturer’s recommendations. A final bead of waterproof sealant can be applied around the outer edge of the Stainless Steel Tile Drain if desired, adding extra protection against water seepage.
Once the grout and sealant are fully cured, place the removable grate onto the Stainless Steel Tile Drain. Test the drain by pouring water over the tiled area to ensure it flows smoothly toward the drain without pooling. Adjust the slope of the nearby tiles if necessary to improve drainage performance.
Installing a Stainless Steel Tile Drain is a valuable addition to any space where efficient drainage is essential. By taking time to prepare the surface, inspect the components, and carefully position and seal the drain, you can achieve a reliable and attractive result. Proper waterproofing, tile placement, and grouting help support long-term performance. With regular cleaning and simple maintenance, a floor drain will remain a useful and visually appealing feature in your tiled area for years to come.


 Add: No 3 District Xiaowufen Industrial Zone, Pengjie Town, Luqiao District, Taizhou City, Zhejiang Province, China.
 Tel: +86-576-89203599
 Fax: +86-576-89203598
 Email: [email protected],[email protected],[email protected]
Copyright © Taizhou Shenzhou Sanitary Ware Co., Ltd. All Rights Reserved.

 عربى
عربى