Positioning the drain insert correctly before any tile is laid down often decides whether the entire shower floor performs as intended over time. The location is not merely a matter of centering the Bathroom Tile Insert Drain within the shower footprint. Water flow dynamics, the shape of the floor plane, and the entry point of the waste pipe beneath the subfloor all impose constraints on where that insert can sit. A common oversight involves placing the drain too close to a wall, which leaves insufficient room for the trowel and leveling spacers during installation. Conversely, setting it too far from the shower entrance may create an awkward slope that feels steep underfoot. Installers often mark the drain center on the subfloor using a chalk line, then dry-fit the insert assembly to confirm that the tile cuts around it will be manageable. Another consideration is the orientation of the tile pattern; linear drains require parallel alignment with the grout lines for a cohesive visual flow, while point drains demand concentric cutting that can be time-consuming. The rough-in stage is the moment to double-check these measurements, because once the mortar bed cures, repositioning the drain becomes a costly and labor-intensive correction.
A solid foundation beneath the drain insert is non-negotiable for lasting performance. The substrate, typically a plywood or concrete slab, must be clean, flat, and structurally sound before any bonding material is applied. Dust, oil, or residual adhesive from previous flooring can weaken the adhesion between the mortar and the insert flange; excessive dampness at the time of installation may interfere with the curing process of the thin-set mortar, preventing it from reaching its intended grip strength. Some installers apply a primer or bonding agent to the substrate surface, especially when working over older concrete that has become polished or sealed. This step increases the mechanical keying effect, allowing the mortar to lock into the microscopic pores of the floor. The substrate must also have adequate load-bearing capacity to support the weight of the mortar bed, tile, and the insert itself without deflection. Any flex in the floor transmits stress directly to the drain flange, which is rigid by design and does not accommodate movement well. In cases where the subfloor shows signs of rot or unevenness, a self-leveling underlayment or a new layer of cement board becomes necessary before proceeding. Skipping this preparatory work may result in a drain that feels loose or produces audible creaks when stepped on, both of which indicate impending failure.
The interface between the metal or polymer flange of the insert and the thin-set mortar is where much of the structural integrity is established. This bond does not happen instantaneously; it develops over time as the cementitious material hydrates and crystallizes around the flange surface. Temperature and humidity are two environmental variables that significantly influence this process. In a cold or excessively dry environment, the water in the mortar evaporates too quickly, leaving insufficient moisture for the hydration reaction to complete. The result is a porous, crumbly bond that cannot hold the flange firmly. On the other hand, high humidity can delay curing, prolonging the period during which the assembly remains vulnerable to accidental disturbance. Covering the freshly laid mortar with a plastic sheet or damp burlap is a practice used to maintain a stable moisture level, particularly in climates where the air is arid. The thickness of the mortar layer under the flange also matters; a layer that is too thin may dry out prematurely, while an overly thick bed can shrink unevenly and create voids. The mortar should be troweled with a notched trowel of appropriate size to ensure uniform coverage, and the flange should be pressed in with a slight twisting motion to eliminate air pockets. Curing time should be respected without rushing, as interrupting this phase by walking on the drain or installing the tile too soon can dislodge the bond and cause the insert to shift out of level.
The slope built into the shower floor is not an aesthetic choice but a functional requirement that directly affects how water behaves near the drain insert. Water follows gravity, and without a consistent pitch toward the drain, puddles will form on the tile surface. These standing water spots become breeding grounds for soap scum, mildew, and eventually mold, which are difficult to clean from the recessed areas around the insert. The integrated slope is typically achieved by tapering the mortar bed from the perimeter walls down to the drain flange, with a standard drop that remains perceptible yet comfortable for bare feet. When the tile is laid over this sloped bed, each piece must conform to the plane, meaning the installer must cut or adjust tiles to maintain the gradient without creating sharp ridges or dips. The drain insert itself sits at the nadir of this slope, so its top surface should be flush with the adjacent tile or slightly lower to ensure water flows over the tile and into the grate rather than backing up along the edges. A common error is to install the insert too high, which forces water to climb a mini ledge before entering the drain, resulting in a persistent ring of moisture around the frame. Checking the slope with a long level or a water level during the mortar-bed construction provides immediate feedback on whether the pitch is consistent from all corners. Adjustments can still be made at this stage by adding or removing mortar before it sets, but once the tile is bonded, the slope is permanently fixed.
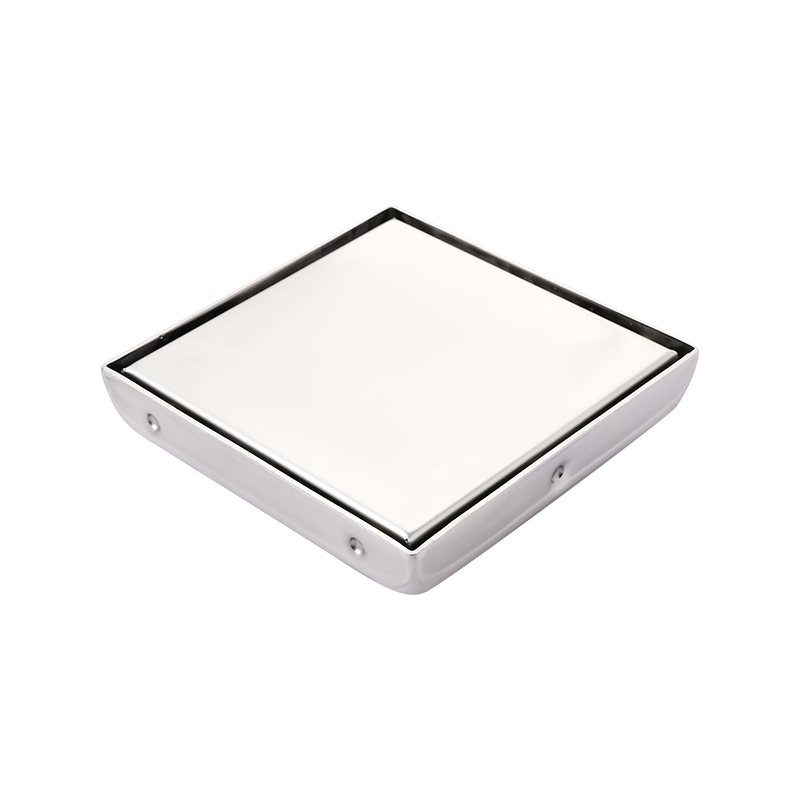
The clearance around the drain frame is a detail that often receives less attention than it deserves, yet it has a direct bearing on both appearance and function. Tiles cannot butt directly against the frame because thermal expansion and contraction will cause them to crack or pop loose over time. Conversely, leaving too wide a gap creates an unsightly dark line that collects dirt and allows water to seep beneath the tile layer. The ideal spacing usually falls within a narrow range, wide enough to accommodate a compatible filler but narrow enough to appear as a deliberate design element. The type of filler chosen for this gap—whether a flexible sealant or a rigid grout—depends on the movement characteristics of the floor and the insert material. Some installers prefer to leave a uniform 2-millimeter gap around the entire perimeter of the frame, using plastic spacers to maintain consistency while the adhesive cures. After the adhesive has hardened, they remove the spacers and fill the void with a color-matched sealant that has some elasticity. This approach allows for slight movement between the tile and the metal frame without breaking the seal. In contrast, filling the gap with non-flexible grout may look cleaner initially, but any minor settlement of the building structure or thermal change can cause hairline fractures that are nearly impossible to repair without removing adjacent tiles. The decision should be made before the tile is laid, because the gap width determines which filler products are suitable.
| Aspect | Flexible Sealant Approach | Rigid Grout Approach |
|---|---|---|
| Movement Accommodation | Accepts slight shifts without cracking | Prone to hairline fractures under movement |
| Initial Visual Uniformity | Slightly matte or glossy finish, color-matched | Matte, matches surrounding grout lines |
| Long-term Maintenance | Can be scraped out and reapplied if degraded | Repair requires grinding and re-grouting |
| Moisture Barrier Performance | Forms a continuous elastic membrane | Porous over time if micro-cracks develop |
| Recommended Application Condition | Areas with temperature fluctuations or heavier foot traffic | Stable environments with minimal structural movement |
Waterproofing a shower floor involves more than painting on a liquid membrane or unrolling a sheet membrane. The order in which these materials are applied around the drain insert determines whether the assembly remains watertight for years. The membrane must overlap the drain flange in a specific manner—either bonded directly to the flange surface or clamped between the upper and lower portions of the drain body. If the membrane is installed before the drain height is finalized, the flange may end up sitting too high or too low relative to the finished tile surface. If the membrane is applied after the drain is set, achieving a continuous seal around the circular or linear opening becomes difficult because the membrane cannot wrap under the flange.
Several practical points emerge from field experience regarding this sequence:
Placing the membrane too early in the construction schedule exposes it to foot traffic and tool drops, which may puncture the thin layer. Placing it too late forces the installer to work in confined spaces around an already fixed drain, making it harder to press the membrane firmly into the corners. The recommended workflow typically sets the drain flange, installs the membrane with proper overlap, conducts a flood test to confirm watertightness, and only then proceeds with the mortar bed and tile. This sequence, while seemingly straightforward, is often disrupted by site conditions such as unlevel subfloors or plumbing offsets that require rework, yet following it closely reduces the chance of hidden leaks that only appear after the shower is put into regular use.
The material used to fill the junction where tile meets the drain insert is not a one-size-fits-all decision. Several variables come into play, each pulling the choice in a different direction. Wood-framed structures expand and contract with seasonal humidity changes more than concrete slabs do, so a flexible sealant is often favored in the former case. The second factor is the visual continuity desired by the occupant. Grout can be colored to match the tile, creating a seamless look that makes the drain appear almost invisible, while sealants offer a slightly different sheen that some find less appealing.
Water exposure frequency also matters. A shower used daily by a large family sees more thermal cycling—hot water hitting a cold tile surface—than a guest bathroom used occasionally. This thermal cycling causes materials to expand and contract at different rates. Grout, being rigid, does not accommodate these differential movements well and tends to crack at the interface with the metal drain frame. Sealants with a measured degree of elasticity can stretch and return to shape without losing their bond. However, sealants require periodic replacement because they degrade under UV exposure and constant moisture. Grout, on the other hand, may last longer in terms of material integrity but fails earlier in terms of crack resistance. The choice also depends on the gap width; narrow gaps are better suited for grout because sealants need a certain depth to adhere effectively, while wider gaps demand sealant to avoid excessive shrinkage during curing. Many installers keep both materials on hand and decide at the time of installation based on the measured gap and the specific conditions of the jobsite, rather than defaulting to one option for every project.
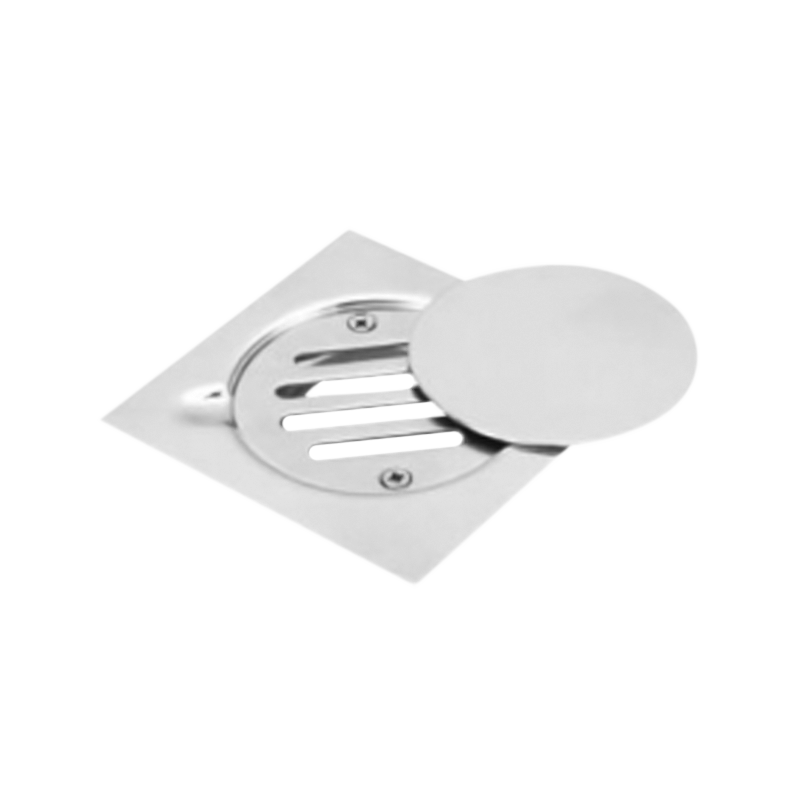
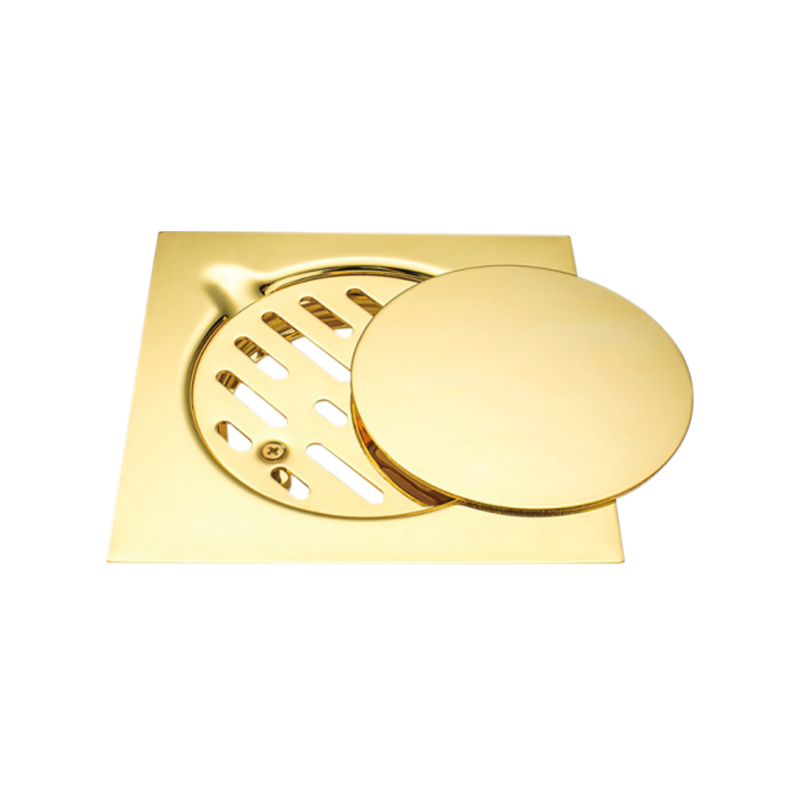
Setting the correct height for a tile insert drain involves a balance between allowing water to flow in and ensuring the grate sits flush with the surrounding tile. A drain set too low creates a noticeable depression that collects water and looks unfinished. A drain set too high prevents water from entering efficiently and poses a tripping hazard. The verification process must occur at multiple stages without disturbing the freshly applied tile adhesive. One reliable method involves using a straightedge or a level bar placed across the adjacent tile surfaces, then measuring the distance down to the drain flange. This measurement should match the planned thickness of the tile plus the bonding layer beneath it. If the flange is found to be high, it can be lowered by adjusting the support collar or cutting the riser pipe shorter. If it is low, shims or extension rings can be added, provided the manufacturer's design allows such modifications.
The timing of these checks is important. A preliminary check is done before any mortar is mixed, using the dry-assembled drain components and a sample tile of the same thickness as the final material. A second check is performed after the mortar bed has been placed and compacted, but before it cures completely, so that minor adjustments can still be made by pressing the flange deeper or raising it with additional mortar underneath. A final check occurs after the tile adhesive has been spread and the tiles are laid around the drain, using a small level placed directly on the grate. At this point, the only acceptable adjustment is a slight rotation or gentle tapping, because any vertical movement would break the adhesive bond. Some installers place temporary spacers on the flange to maintain the correct height while the surrounding tiles set, removing them only after the adhesive has gained enough strength to hold the tiles in position. This layered verification approach catches height errors early, when they are easy to fix, rather than discovering them after the entire floor is finished and the grout has been applied.
The connection between the decorative tile insert and the underlying waste pipe is where many hidden failures originate. Water can escape not only through the visible joint but also along the threads, gaskets, and compression fittings that link the drain assembly to the rough-in plumbing. One frequent issue is overtightening the connection, which deforms rubber washers and creates an irregular sealing surface. Another is undertightening, which leaves a gap that allows water to seep past the threads. A torque wrench or a calibrated tool is sometimes used to achieve the recommended tightness, though many installers rely on feel and experience.
Several strategies contribute to a leak-free connection:
The rough-in provided by the Shower Floor Drain Factory typically includes a standard riser height and a specific socket type, but variations in floor thickness or tile build-up may require an extension or a reducing coupling. Installers should check the compatibility of the insert with the factory-supplied components before beginning the connection. A water test performed after the connection is made—before the mortar bed is poured—offers immediate confirmation that the joint is sound, giving the installer confidence to proceed with the rest of the flooring work.
The last phase of the installation process is the curing period after all components have been placed. This period allows the various materials—mortar, adhesive, sealant, and waterproofing membrane—to reach their intended physical properties. Interrupting this phase by using the shower too early subjects the still-soft materials to water pressure, foot traffic, and thermal shock, all of which degrade their performance. A mortar bed that has not fully cured will have lower compressive strength, meaning it can crumble under the weight of a person standing near the drain. A sealant that has not skinned over will wash away or become cloudy when exposed to running water. An adhesive layer that has not achieved its design bond strength may let tiles shift out of alignment, creating sharp edges or uneven gaps around the drain frame.
The duration of this curing window varies with ambient conditions, material type, and ventilation. In a warm, dry room, some materials may cure faster, but that speed can be deceptive because the surface dries while the interior remains soft. In a cool, damp basement, curing takes longer, and forcing the schedule by using heaters can cause shrinkage cracks. During this waiting period, the floor should be protected with cardboard or plywood to distribute any accidental loads, and the drain opening should be covered to prevent debris from falling into the pipe. The reward for patience is a floor that performs without squeaks, cracks, or leaks for an extended period. Rushing the curing stage, in contrast, involving re-grouting, re-sealing, or in severe cases, removing and reinstalling the entire drain assembly—a much greater investment of time and material than simply waiting the extra days.


 Add: No 3 District Xiaowufen Industrial Zone, Pengjie Town, Luqiao District, Taizhou City, Zhejiang Province, China.
 Tel: +86-576-89203599
 Fax: +86-576-89203598
 Email: [email protected],[email protected],[email protected]
Copyright © Taizhou Shenzhou Sanitary Ware Co., Ltd. All Rights Reserved.

 عربى
عربى