Choosing a drain starts with the floor plan rather than the appearance of the drain cover. A bathroom may have a compact shower area, a wide wet zone, or a floor shared by several water sources. Each arrangement changes how water should move toward the outlet.
For a Bathroom Tile Insert Drain, location matters because surrounding tiles need to meet the drain in a planned way. A drain placed near a wall creates a different tile layout from one positioned around the center of a shower floor. Existing pipe locations can further limit where an outlet can be installed, especially during renovation work.
Floor height deserves attention at the same stage. Finished flooring, tile thickness, adhesive layers and the drain structure all occupy space. A small mismatch can leave the cover sitting too high or too low compared with nearby tiles.
A sensible planning sequence looks like:
Bathroom Layout → Drain Location → Pipe Route → Floor Slope → Tile Arrangement → Installation
Leaving drain selection until tile installation has already started can create unnecessary changes. Moving an outlet later may affect the slope, waterproofing work and tile cuts around the drainage area.
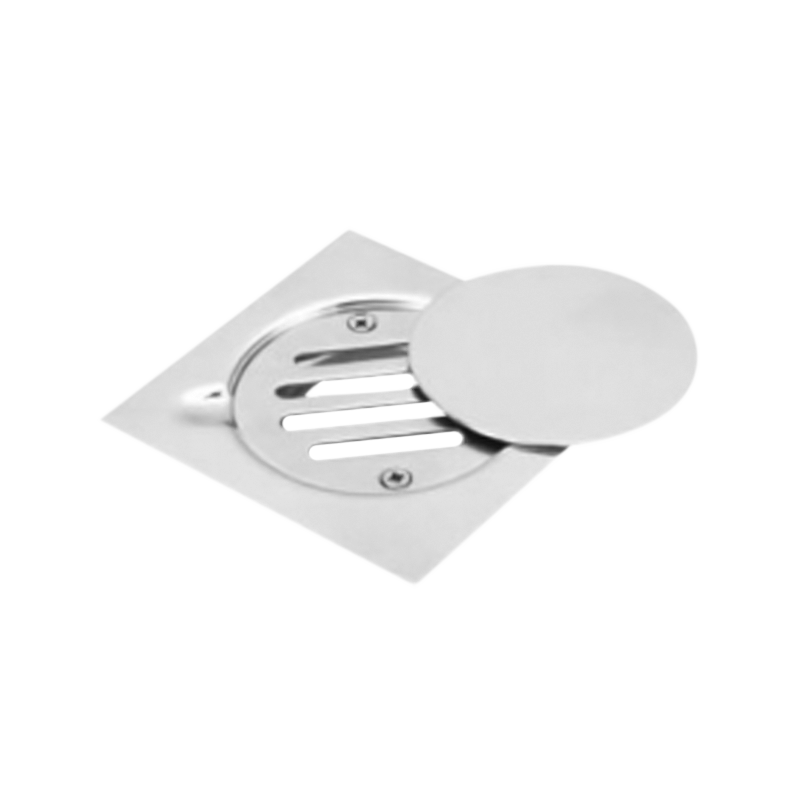
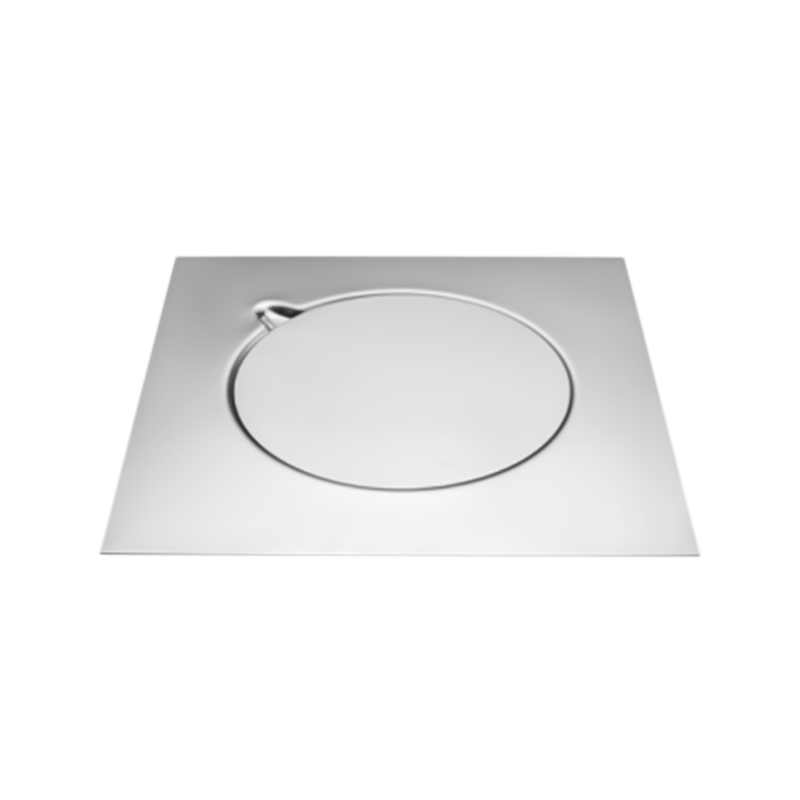
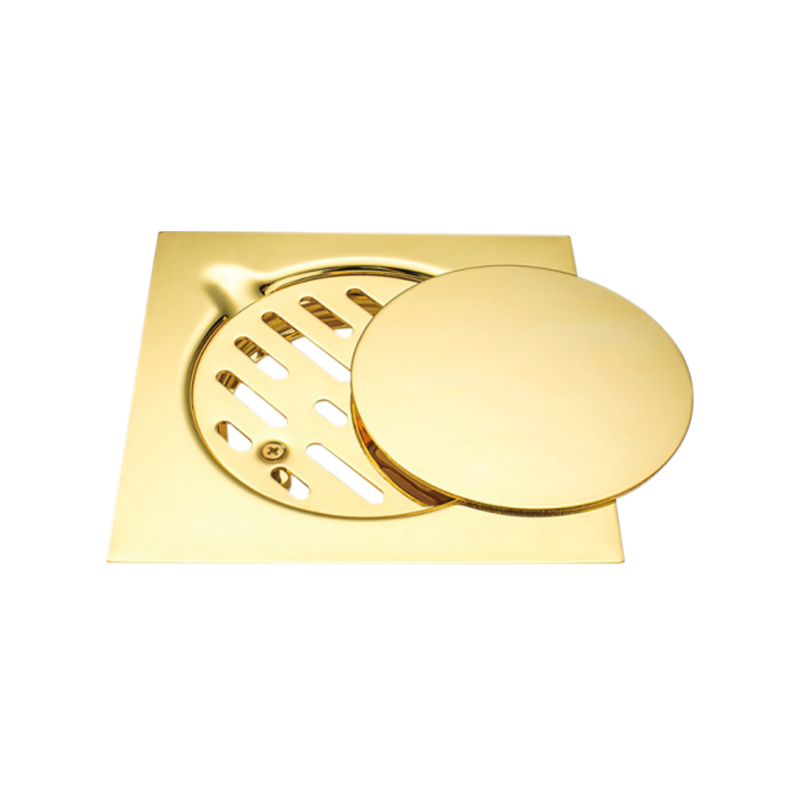
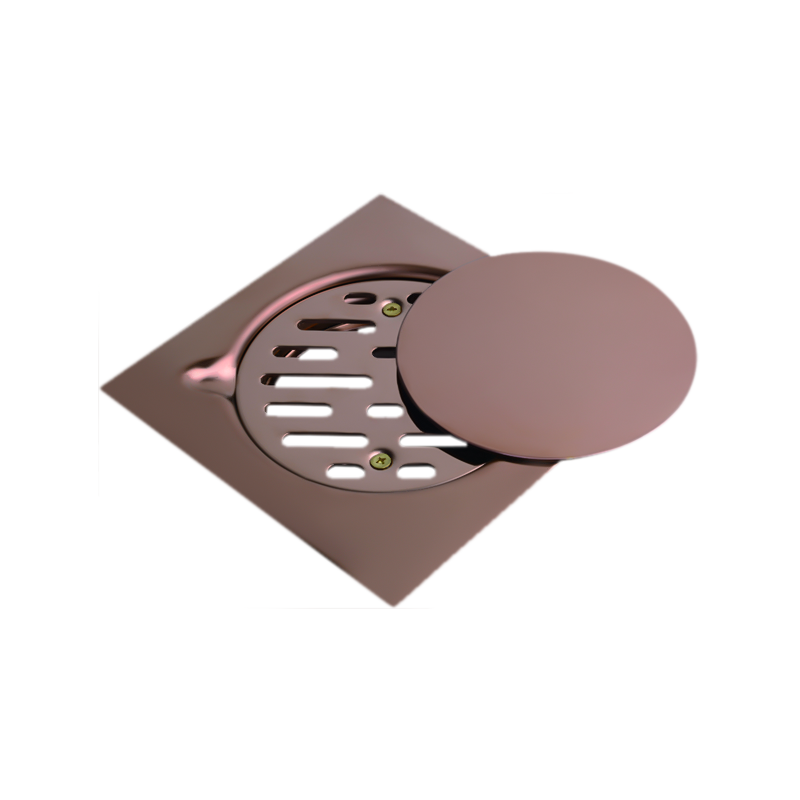
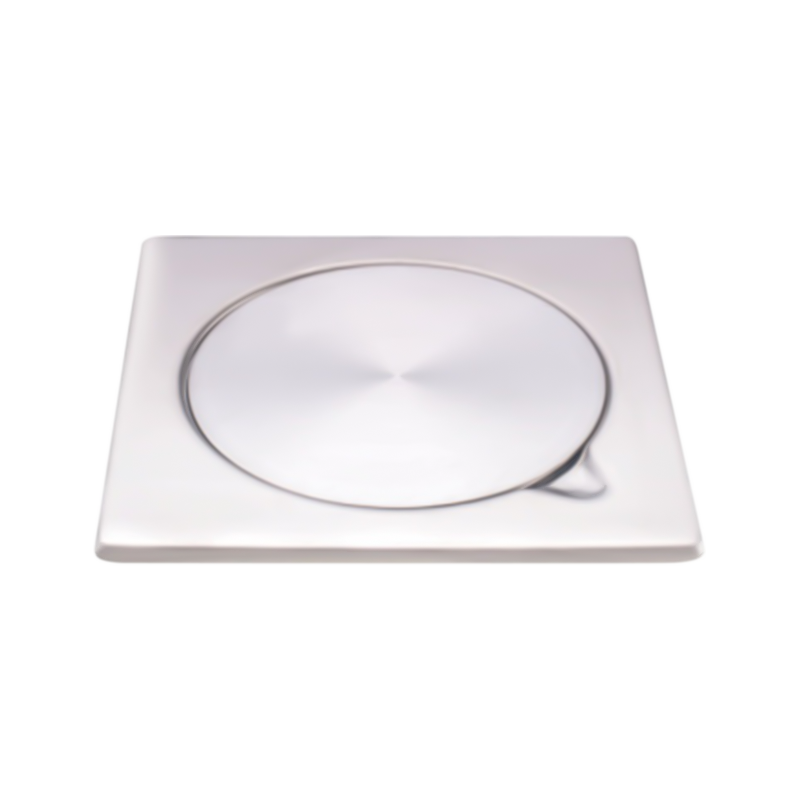
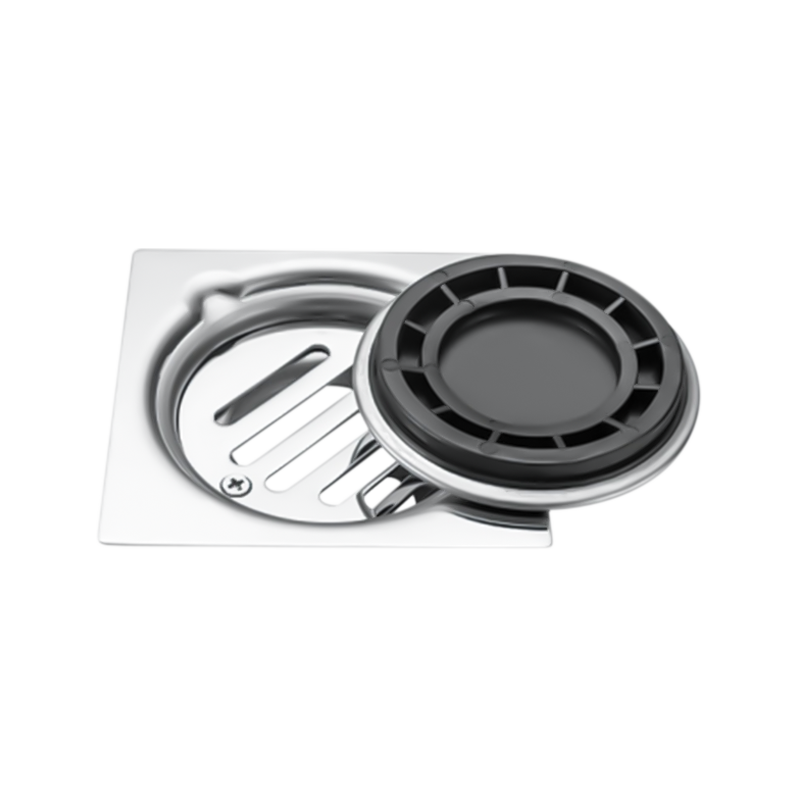
A tile insert drain is designed to hold a piece of floor tile within or over its visible cover, allowing the drainage area to blend with the surrounding floor. Instead of making the drain visually separate from the tile pattern, installation can create a more continuous surface.
Tile thickness becomes an important consideration. A piece that is too thick may sit above the surrounding floor, while a piece that is too thin can leave a recess. Correct adjustment between the tile and drain cover helps maintain a more even surface.
Cutting also requires care. Tile pieces around a drain need to follow the shape and position of the opening, so measurements should be taken before cutting rather than relying on adjustments during installation.
Several details deserve attention:
A tile insert design does not remove the need for careful drainage planning. Water still needs a clear route beneath the finished floor, while the tile section needs to remain properly supported.
For installers, coordination between the drain and tile layout can make the work easier. Tile position should be considered alongside drain position rather than treated as a separate task.
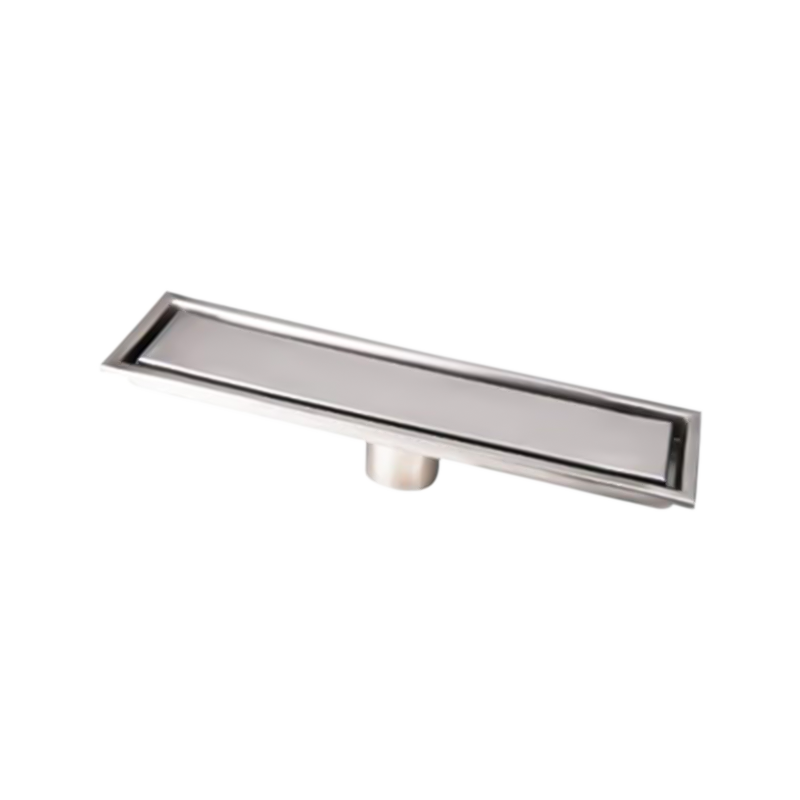
Water needs a controlled path toward a drainage point. Floor slope determines that path, so drain location and floor design should be considered together.
A central drain commonly receives water from several directions. Tiles around such an outlet may need to angle toward the center, creating several sloped sections. A linear drain placed along one side of a shower can allow water to move in a more consistent direction across the floor.
A Long Linear Floor Drain can therefore suit layouts where a single direction of slope is easier to create. Placement near a wall, at a shower entrance or along another edge can change how tiles are arranged.
Slope should not be viewed only as a construction detail. It affects daily water movement, tile cutting and the appearance of floor lines.
For example, a narrow shower with a drain along one wall may allow large tile pieces to run toward the outlet with fewer changes in direction. A central outlet may require more individual tile sections so that each part of the floor follows the required slope.
Drain height needs to match the surrounding finished floor as well. An outlet that sits too high can interfere with water movement, while a low area around the drain can collect water rather than guide it away.
Tile size has a direct relationship with drainage design. Large tiles create fewer joints across a floor, while smaller tiles can follow changes in slope with greater flexibility.
A central drain may require several tile pieces to meet around the opening. Cutting each piece accurately becomes part of the installation process, especially when a decorative pattern needs to continue across the floor.
Linear drainage presents a different arrangement. A long narrow opening can run along a tile edge or across a selected section of the floor, allowing tile lines to follow a more regular direction.
| Bathroom Condition | Tile Insert Drain Consideration | Linear Drain Consideration |
|---|---|---|
| Large Floor Tiles | Careful Slope Planning Needed | Can Suit a Directional Floor Layout |
| Small Floor Tiles | Flexible Around Sloped Areas | Tile Joints Need Layout Planning |
| Central Drain Position | Tiles May Slope From Several Directions | Less Suited to a Central Outlet Layout |
| Wall Side Drainage | Possible With Suitable Design | Often Fits a Wall Side Arrangement |
| Existing Pipe Position | Requires Outlet Alignment | Requires Careful Outlet Planning |
| Continuous Tile Pattern | Requires Accurate Tile Cutting | Can Follow a Longer Tile Edge |
Tile pattern should be planned before the drain is fixed permanently. A drain placed directly across an important grout line may create an awkward visual break, while shifting the outlet slightly can change several surrounding cuts.
Bathroom design therefore involves a balance between drainage function and tile arrangement. Neither element should be selected without considering the other.
Before installation begins, several physical conditions need to be checked together. Drainage work is closely connected with floor height, pipe location and waterproofing, so changing one part during installation may affect another.
A Bathroom Tile Insert Drain needs enough space for the body, outlet connection and tile‑covered section. Available depth beneath the finished floor can vary from one bathroom to another. Renovation projects may have less freedom because existing pipes and floor structures are already in place.
Finished floor height deserves particular attention. Tile, adhesive and the drain cover need to meet at a suitable level, with enough adjustment available during installation. A small difference in height can create an uneven transition around the drainage area.
Pipe direction is another practical concern. An outlet that looks suitable on a floor plan may not work well once the existing pipe route is inspected. Checking pipe access before fixing the drain can prevent unnecessary changes later.
Waterproofing should remain part of the same planning process. Connections around the drain need to work with the waterproof layer rather than leaving gaps or poorly sealed areas. Drain installation should therefore be coordinated with the surrounding floor construction.
For renovation work, a simple inspection can include:
Good preparation can reduce adjustment during tile installation and make the final drainage area easier to maintain.
Bathroom drainage components remain in contact with moisture during regular use, so material selection should match the environment. Material alone, however, does not determine whether a drain suits a particular bathroom.
Structure has an equally practical role. A cover should be easy to remove when cleaning is needed, while the drainage body should connect properly with the surrounding floor and pipework.
For a tile insert design, cover depth is especially relevant because a tile piece needs to sit within the intended area without creating an obvious step. Edges should provide enough support for the tile section while leaving water a clear route into the drain.
Cleaning access also deserves attention. Hair, soap residue and small particles can collect around drainage areas during normal use. A design that allows the cover to be lifted or accessed without complicated procedures can make routine cleaning less troublesome.
Long drainage channels have their own structural considerations. A Long Linear Floor Drain may extend across a larger section of the shower floor, so outlet placement, channel position and surrounding tile slope need to work together.
Rather than judging material, shape and finish separately, it is more practical to ask whether the complete structure matches the bathroom environment and installation method.
There is no single drainage arrangement that suits every bathroom layout. A suitable choice depends on how water reaches the outlet, how tiles will be arranged and where existing pipework can be connected.
A Bathroom Tile Insert Drain can be considered when maintaining a tile‑based appearance is important. Tile can be placed within the drain cover, allowing the drainage area to blend into the surrounding floor. Central or selected floor positions may work depending on the planned slope.
A Long Linear Floor Drain can suit layouts where water needs to move toward a long drainage opening. Wall‑side placement can make sense in some shower designs, particularly when a single‑direction slope works well with the floor plan.
Several practical conditions can guide the choice:
Appearance should therefore come after basic installation compatibility. A drain that looks suitable on its own may create difficulties when combined with the actual floor structure.
Early planning can make drainage work more straightforward because several decisions are connected. Starting with the shower area gives a clearer idea of where water will collect and where an outlet can reasonably be placed.
Once the drainage position is selected, pipe routing and floor slope can be considered. Tile dimensions and layout can then be matched to the drainage arrangement rather than forcing tile cuts around an already fixed outlet.
A useful planning order is:
Tile insert drainage needs particular attention during the layout stage. A piece of tile inside the cover should match surrounding tiles in thickness, direction and appearance. Accurate measurements can reduce visible gaps and uneven transitions.
For a linear arrangement, tile orientation becomes equally important. Long drainage openings can influence where floor joints run, so positioning should be decided before the final tile pattern is fixed.
Maintenance should remain part of planning rather than an afterthought. A drain may work well during installation, yet difficult access can make routine cleaning inconvenient later. Considering cover removal, debris access and surrounding tile joints can help create a more practical bathroom floor.
Choosing between a Bathroom Tile Insert Drain and a Long Linear Floor Drain ultimately depends on how drainage, flooring, pipework and daily maintenance fit together. A careful plan allows each part to support the next, making installation more predictable while keeping the finished bathroom functional and visually consistent.

 Add: No 3 District Xiaowufen Industrial Zone, Pengjie Town, Luqiao District, Taizhou City, Zhejiang Province, China.
 Tel: +86-576-89203599
 Fax: +86-576-89203598
 Email: [email protected],[email protected],[email protected]
Copyright © Taizhou Shenzhou Sanitary Ware Co., Ltd. All Rights Reserved.


 عربى
عربى 0
0
